THESE ARE OT MY TUTORIALS THEY ARE MOLLY'S!!!!Everything is exactly how she wrote it, nothing has changed and i take no credit or anything as none of it belongs to me!
____________________________________________________
Okies, I'll do one from my latest batch of icons I made. It's a simple tutorial and is easily translated for any graphics program. I made it using Adobe Photoshop CS2 but I am sure Paint Shop Pro users and such can do it. This tutorial is image heavy. (a.k.a there will be a lot of images on this page so for those who have dial up it may take some time to load.) The tutorial wont work for every image so fiddle with the opacities etc.
We're going to go from
this to

1. Get your image. Then crop it to 100x100px.

2. Duplicate your base three times and set each layer to Screen 100% (like I said, depending on your image you may only need to duplicate it once or twice. Fiddle with your layers.)

3. Create a new layer. (Ctrl+Shift+N) Fill it with #011537 and set this layer to Exclusion 100%. Then duplicate this layer.

+

4. This bit may be different on various programs. For Photoshop users follow these instructions. Select all (Ctrl+A) Copy the merged layers (Edit>Copy Merged) and then paste (Ctrl+V). Set this layer to Softlight 100%. For those who don't use Photoshop just flatten the image. Duplicate the image and set it to Softlight 100%. It should be the same thing.
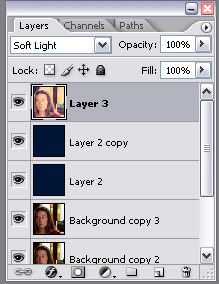
That is what your layers pallete should look like with PS users.

5. Create two new layers below your Softlight image (a.k.a the "Copy Merged Layer") and fill them both #a4ddf4. Set the first one to Colour Burn (Burn on PSP) 38%. Set the second one to Colour Burn (Burn on PSP) 40%.

+

6. Above the blue layers but beneath the "Copy Merged" layer create a new layer and fill it with #eadccd. Set this layer to Colour Burn (Burn on PSP) 49%.

+

7. Create a new layer and fill it with #e6e6e6. Set this layer to Colour Burn (Burn on PSP) 100%.

+

.
And there we go.
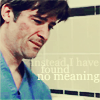
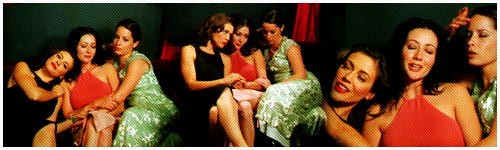
Examples of other icons I made with the same colouring on them are:


If it was confusing or you need help just let me know. Try it out and show me what you come up with.

Molly
________________________________________________
Oh, that's nice. I may try it out.
I am gona do another one. I did it using Photoshop CS2 and Curves so if you don't understand curves...then you may not understand this tutorial.
We are going from
this to
this.
1. Create a new image at 300x400 and then crop your image to whatever size you want. (Or whatever size you are working with.)
2. Duplicate the base three times and set the first two layers to Screen 100% and set the last to Softlight 100%.
3. Create a new layer. (Cntrl.Shift.N.) Fill this with b1e9fa. Set this to Colourburn at 100%.
4. Create another new layer (Cntrl.Shift.N) and fill this with d8dcdf. Set this to Colourburn 100%.
5. Create another new layer. (Cntrl.Shift.N.) and fill this with 07132d. Set this to Exclusion at 100%.
6. This is a bit tricky. Select the entire image [Select-All] and then Copy Merge the image. [Edit-Copy Merged]. Then paste this and set this layer to Softlight 100%.
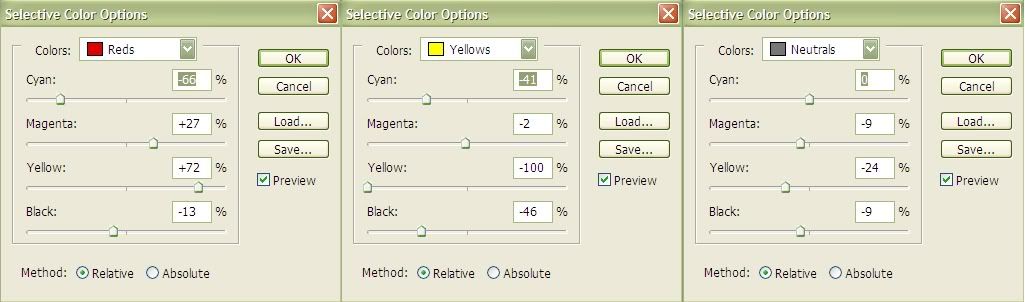
7. This is the other tricky part. This is the Curves layer. If you don't understand curves then you may not be able to do this. Create a new Curves layer. [Layer-New Adjustment Layer-Curves]
RGB - 137.115
Red - Leave it alone.
Green - 163.170
Blue - 94.68
8. Duplicate your base, drag it to the top and desaturate it and set this to Softlight 58%.
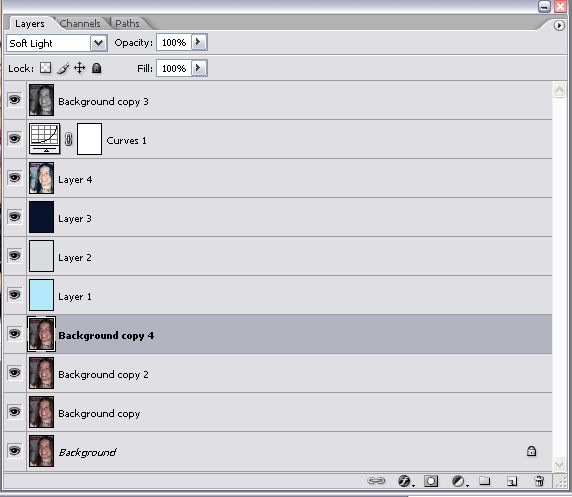
Your layers pallete should look like this:
And there we go. If you have any problems let me know.


 to
to 
 to
to 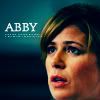


 -->
--> 
 -->
--> 


 Here is one I made, I posted this one September 2007 on my livejournal.


 to this
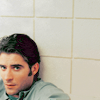

 )
) and set it to the DIFFERENCE (opacity 100%)
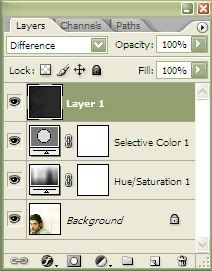
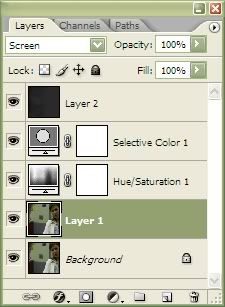
 but sometimes it works. Just copy the background once time and set it to the SCREEN (opacity 100%). It looks like that:
 ->
-> 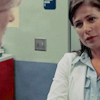


 to
to  or
or