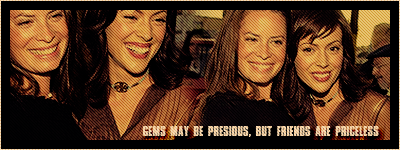
I don't think that there's one animation tutorial here, I've peeked though it and I couldn't find one so here's my first tutorial! 
I've never EVER written a tutorial, so this will be quite intresting. Let me know what you guys think. and if anything is unclear, or confusing, or misspelt [Well, I think you get it] LET ME KNOW.
 [Image heavy]
You need this;
Windows Movie Maker
Photoshop CS3
or any other kind of PS, though I've written this one using PhotoShop CS3. In the other PS versions, you do this in Image Ready.
Basic Knowledge of Movie Maker & Photoshop [no need for knowing anything about animations]
Windows Movie Maker;
[my WMM is in Swedish but I'll try to explain it as good as possible]
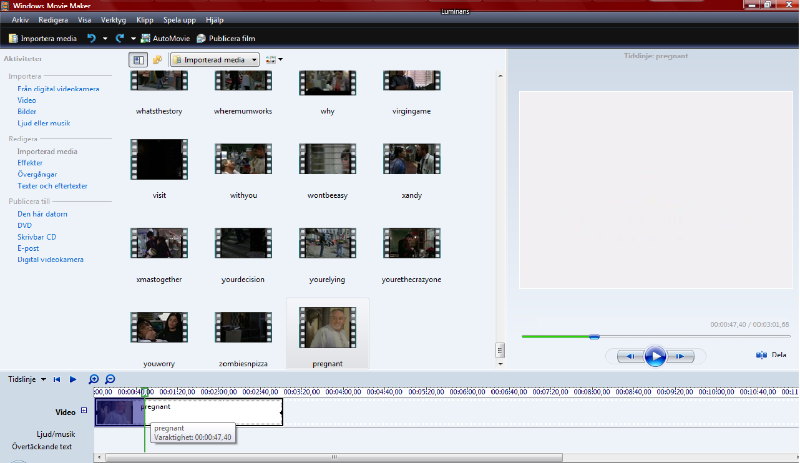
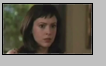
1. Open up the episode that you wan't a clip from or just..the clip. It's still neccisary if you already have the clip cutted. Delete the parts that you don't want, it's okaay if it isn't SO perfect - that we can edit away later. I chose the clip when everybody finds out that Piper's pregnant with Wyatt in Charmed
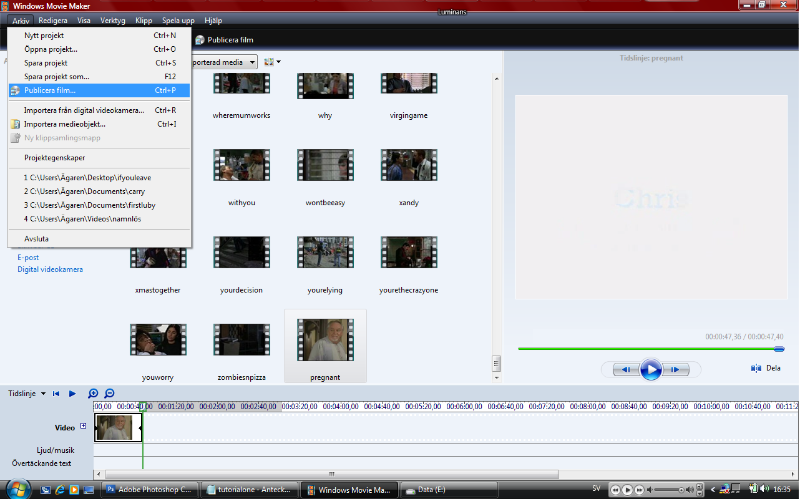
Go to File > Save your video. [something like that]
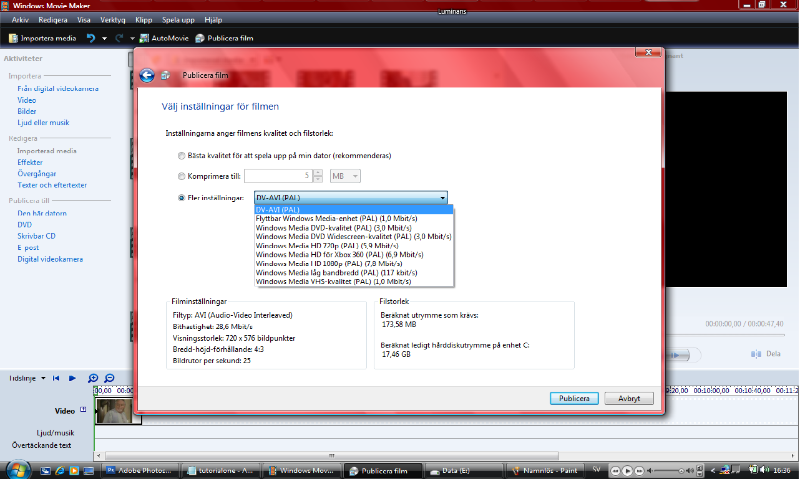
Then there's a new window opening. Follow the instructions[save your file on the hardrive, name it, ]
After chosing where to save your clip, naming it and choose a place on your ex. harddrive
and then when you come to the window looking like this^
Choose the alternative that says DV-AVI (PAL)
WMM part DONE!
Photoshop CS3 / ImageReady
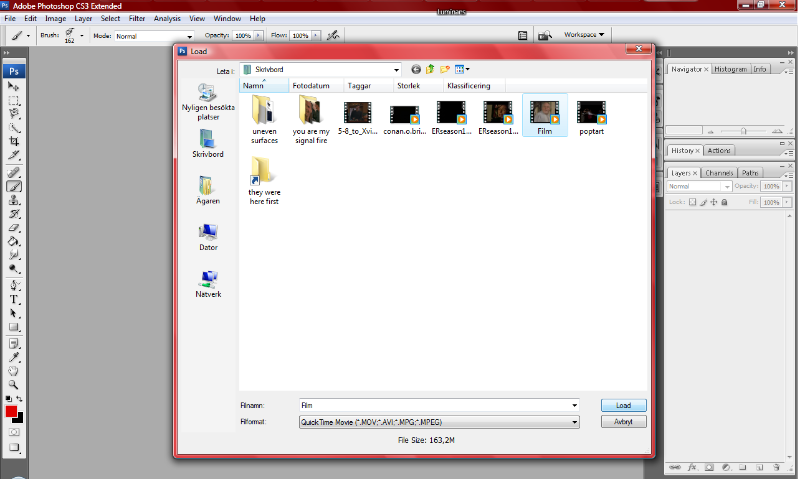
Open up your PS[PhotoShop].
Go to File > Import > Videoframes to layers
It comes up a window: then go and find your file and Press Load. When that's finished, you now have your sceencaps, WITHOUT screencapping them by yourself. Nice, isn't it`?

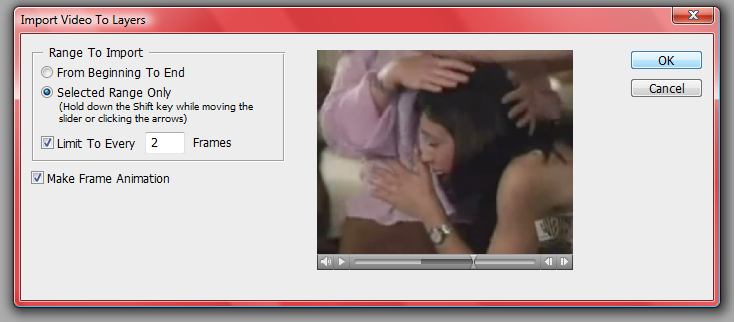
In this window you can select which part of the clip that you want and if you want to limit the frames to ever second frame. Make sure that You've seleced "make frame animation". I chose the scene in WMM but now, I just want a piece of it. So I do as the instruction says, I'm holding down the Shift key and choosing the lenght of the clip. Still, it doesn't need to be perfect, the tiny things can be removed later. I also Chose Limit to ever second frame 'cause I think it's going to fast otherwise. [If you realize this later...it's just to remove them like you want to by "hand"] Press; OK.
WHOHOOO! Now you've your own screencaps

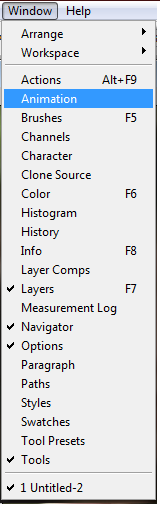
Go to Window > Animation.

And now you'll get a window that looks like mine, though you've your own scene. Push the Play button to see your animation, I think it's going to slow so I would like to change that BUT I'll do that later 'cause...well, I prefer doing it later. If you want to do it now skrip to step #11..and then back again
That's also if you want to remove some frames..have a look at #11.
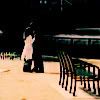
Now, it's time to find a background!
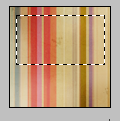
I chose a vintage background that I cropped down to the right size, but ofcourse; you're free to choose whatever you want; loads of brushes, one color. Then I used the marqueetool to open up a rectanglular "box" in the size that I want my animation to be on the background. Crop the image so that the box is the only thing left. Go to Image > Image size and memorize the sizes of height and lenght. Mine shows 89x50 Undo your cropping by going to Edit > Undo crop/ Step Backward [free choice]. Time to go back to your usual animation
Write in the numbers that you've memorized in the crop "windows" and then, crop your animation! The cropping takes a while..
^ this was what I got

Here I decide how fast I want the clip to be, we still have to re-do this but I want to check how my clip looks like!. I choose "0,1" seconds, though it's often VERY different.I choose "0,02" seconds to start with, and then changes some frames faster and some slower. All up to you!
To remove several frames from your animation, mark the first one hold in the shift button and then press the last one. And as last, press the can. BUT, be careful! It's easier to remove them in the layers window and THEN in the animation one. After removing it in the layers window it'll show up as a blank animation window.
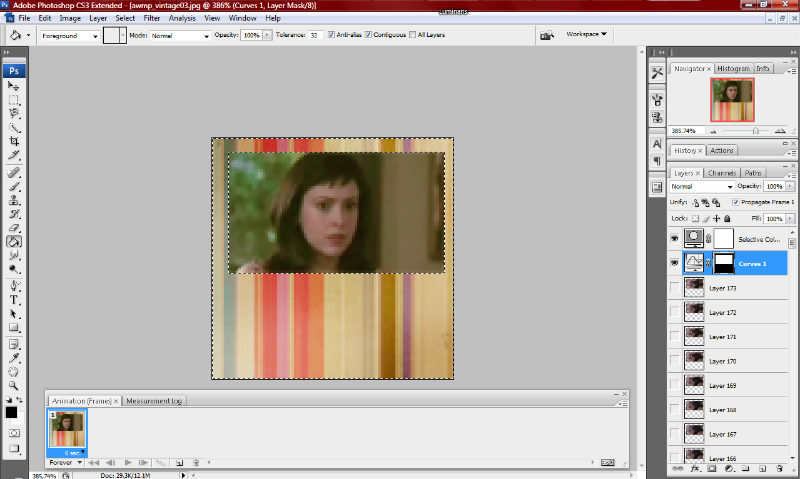
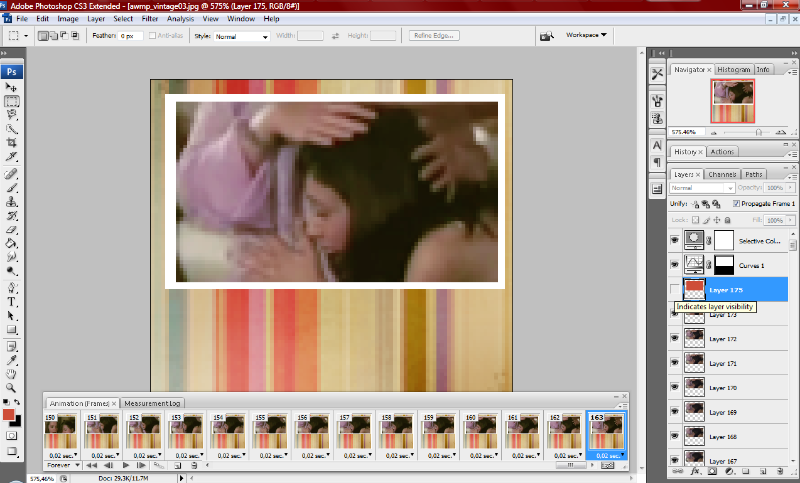
I decided to use a curve layer and a Selective colouring layer on my animation. Nothing advanded though, and 'cause of this selection layer my stripey background is going to look a bit different too. But that's changeable!
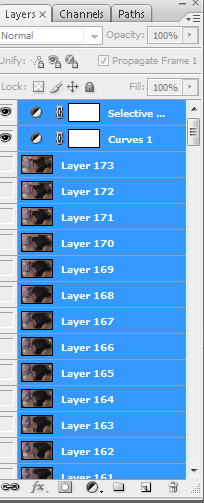
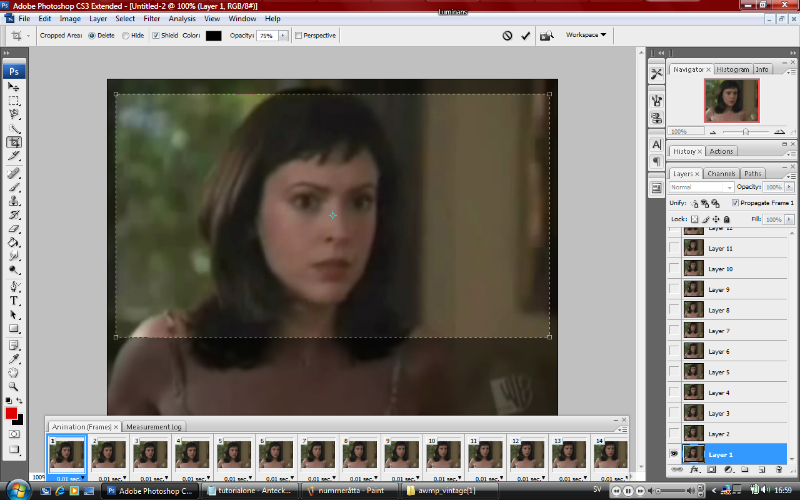
Mark ALL your layers, as you can see. I've around 173 of them. They're a bit too many but I'll still hold on to it. I love the clip so what can a girl do?
I moved around the clip so that it fitted and this is my result.
My background got a bit light when using the curves layer so I'm going to fix that. I zoom in my icon and mark the "moving part" of the icon. Right click and choose "Select inverse". Mark the mask of the Selecting Coloring and use the paintbucket, with color black, to paint the outside frame black. Wohoo,
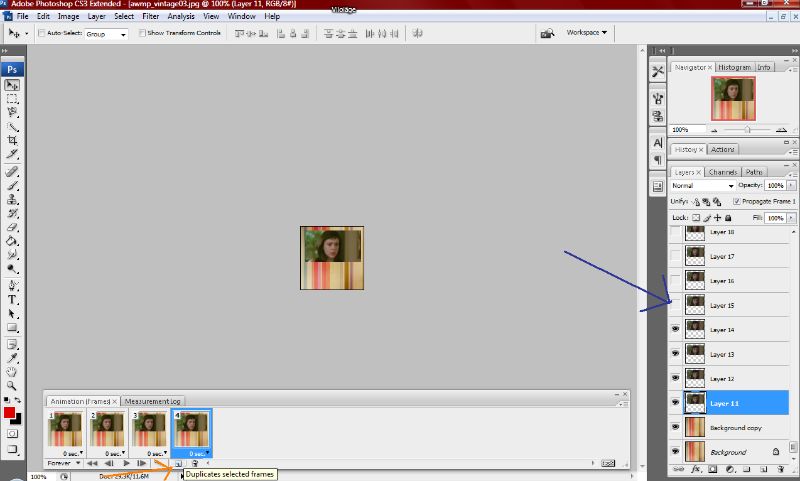
Now it's time to create the animation WITH the background. Press the "New Layer" button [orange arrow] and then check the eye on your next layer.
EX. I begin with Frame 1 and Layer 11. The on Frame 2, I also check the box for layer 12. On Frame 3 I ALSO add Layer 13.
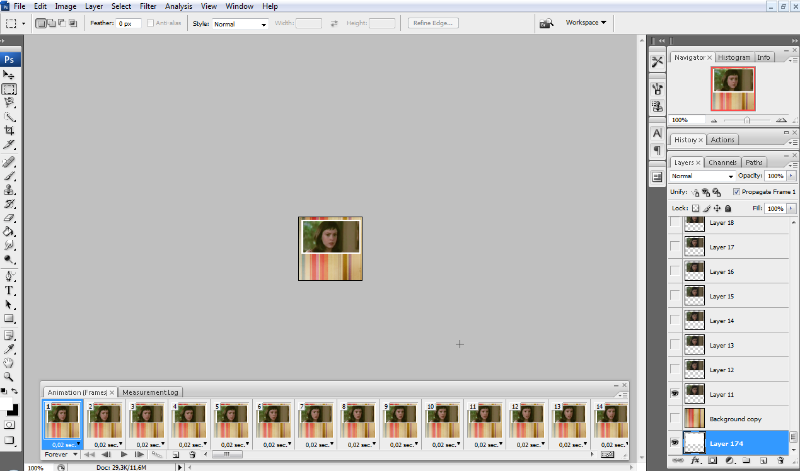
I added a white layer under the first frame 'cause it felt like the animation was missing somehting, and then, it auotomaticly gets under all the other frames too! Smart, huh?
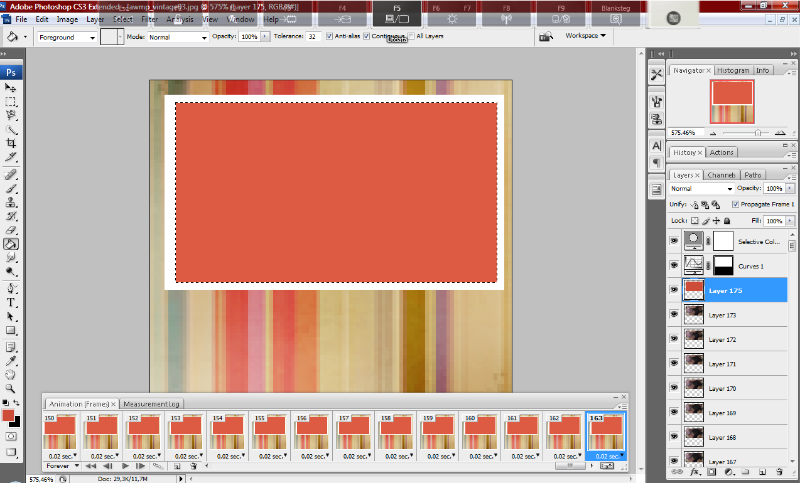
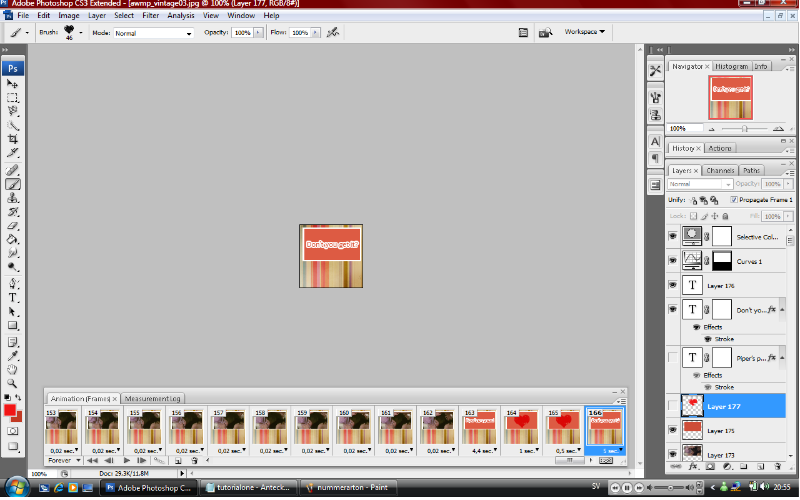
Well, now it goes all around, and around...BUT I would like to add a text to it. I open up a new frame like we did before and also a new layer. Once again, I zoom in and use the marqueetool to make a box around the "moving part". I use a red-ish tone but now EVERY layer got this colour as well. That's easily fixed. Go back to your first frame and "un-check" the eye on the red-ish layer.
Now mark the last frame, or the frame that you want to have your red-ish layer on, and check the eye box. Same thing goes for the text, it appears on all the frames. Just do as you did with the red-ish layer!
and this is how my final part of the animation look like.
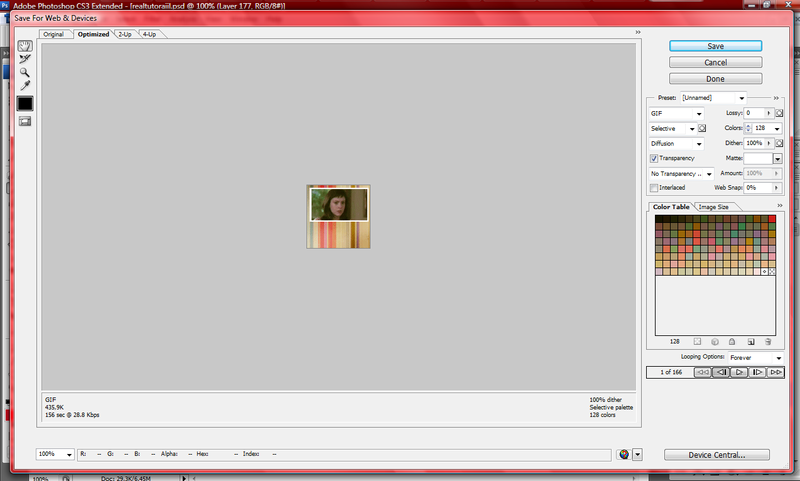
To save it properly, go to File > Save for Web & Devices. Now, a new window appear. By changing the Colors [my says 128] you change the quality and size of your animation. And be sure that it's saved as a GIF. Otherwise I don't think that it's so much to worry about there.
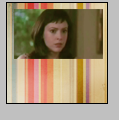
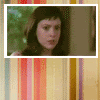
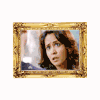
and the totally finish, my Charmed icon, it's a bit too long but I kind of like it;
Questions? just ASK!


 Serioulsy, I used photofiltre before and now I'm trying (yeah, trying) to make fanart with photoshop but my god, it's too difficult for me !!


 )
)